Bubbles in vinyl stickers can be a real eyesore, detracting from the sticker’s aesthetic and possibly making it difficult to read any text included on it. Fortunately, there are ways to fix these bubbles without having to replace the entire sticker. This article will cover how to fix bubbles in vinyl stickers so that you can get them looking good as new.
Step 1
Heat the affected area: Using a hair dryer, blow warm air onto the bubble for about two minutes. This should make it easier to ‘work’ with the vinyl sticker.
Step 2
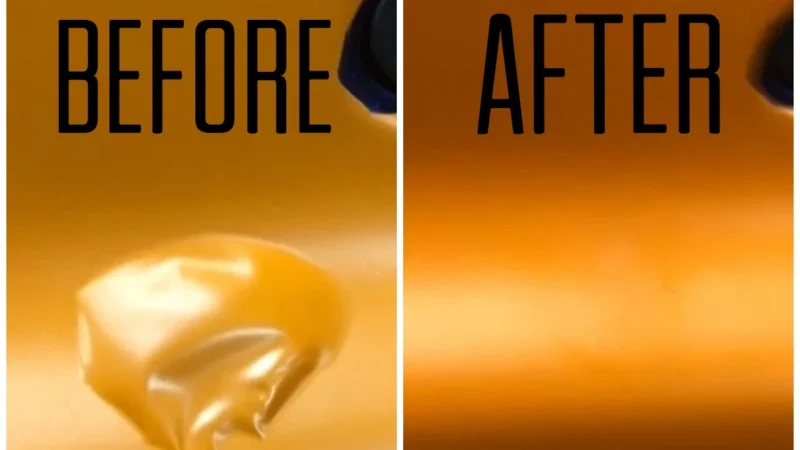
Give the bubble a gentle massage: Take your thumb and finger and gently press and rub the bubble outwards. This should help to flatten the sticker and remove any air bubbles caused by improper installation or wear and tear.
Step 3
Re-heat the area: Once all of the bubbles have been removed, you can use a hair dryer to apply heat to the affected area again. This will help to re-seal the vinyl sticker and keep the air bubbles away.
Step 4
Leave it to dry: Allow your vinyl sticker to fully dry before handling or putting it back in its original place. This will ensure that all of the adhesive has re-bonded properly with the surface area and there won’t be any further bubbling issues.
Conclusion
With these steps, you should be able to easily fix any bubbling issues with your vinyl sticker. Just remember to take your time and lightly massage the area when working with bubbles, as too much pressure can cause further damage. Taking the extra time to make sure that the sticker is properly sealed will ensure a long-lasting finish. Good luck!


0 comments
There are no comments yet. Be the first one to post a comment on this article!
Leave a comment